Building Google Calendar Add-ons (2) - Card Interaction
Today, we will learn to implement basic form interaction on Google Calendar Add-ons. I assume that you have read my previous post about the basic structure on Google Calendar Add-ons (1)
1. Create Google Apps Script Project
Show appsscript.json like what we have done previously, then paste the following code
{
  "timeZone": "America/New_York",
  "dependencies": {

  },
  "exceptionLogging": "STACKDRIVER",
  "runtimeVersion": "V8",
  "addOns": {
    "calendar": {
      "homepageTrigger": {
        "enabled": true,
        "runFunction": "buildHelloCalendarCard"
      }
    },
    "common": {
      "name": "HelloCalendar",
      "logoUrl": "https://www.gstatic.com/script/apps_script_1x_48dp.png"
    }
  }
}
2. Create / Update Code.gs
Create Code.gs in Editor (or just replace with the code below if you already have one)
function buildHelloCalendarCard() {
  var card = CardService.newCardBuilder();

  var cardHeader = CardService.newCardHeader();
  cardHeader.setTitle('Hello Calendar');

  var userEmail = Session.getActiveUser().getEmail();

  var emailField = CardService.newTextInput();
  emailField.setFieldName('email').setHint('Your email').setTitle('Email').setValue(userEmail);

  var helloAction = CardService.newAction().setFunctionName('notificationCallback');

  var helloButton = CardService.newTextButton();
  helloButton.setText('Say Hello').setOnClickAction(helloAction);

  var cardSection = CardService.newCardSection();
  cardSection.addWidget(emailField);
  cardSection.addWidget(helloButton);

  card.addSection(cardSection);

  return card.build();
}

function notificationCallback(e) {
  var helloText = 'Hello '+e.formInput.email
  return CardService.newActionResponseBuilder()
      .setNotification(CardService.newNotification()
          .setText(helloText))
      .build();
}
Let's dive in into the code :
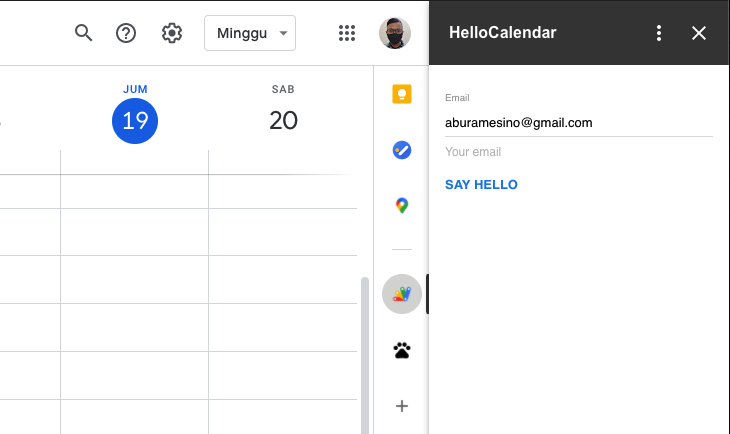
We can see in appsscript.json that we will execute buildHelloCalendarCard function whenever user install our extension and open the Google Calendar.
Look at this line :
var userEmail = Session.getActiveUser().getEmail();We use Google Apps Script session helper class to get current user email, and then create a new text field with default value taken from user email.
Move on the next thing :
var helloAction = CardService.newAction().setFunctionName('notificationCallback');

var helloButton = CardService.newTextButton();
helloButton.setText('Say Hello').setOnClickAction(helloAction);
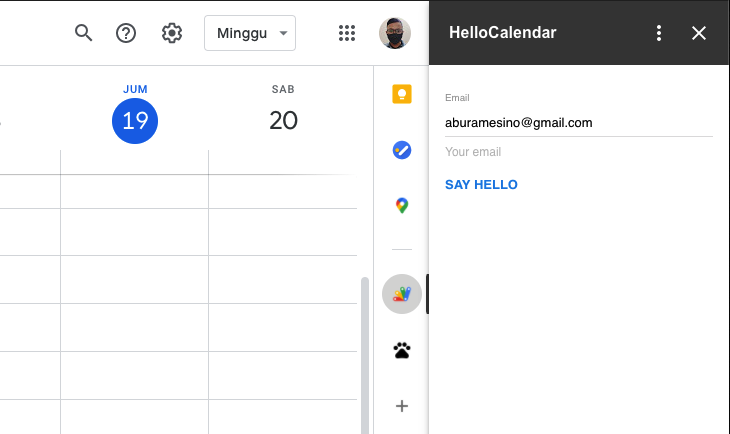
We create a new Say Hello button, and attach an action listener into the button. By doing that, whenever user click a Say Hello button, it will call notificationCallback function.
function notificationCallback(e) {
  var helloText = 'Hello '+e.formInput.email
  return CardService.newActionResponseBuilder()
      .setNotification(CardService.newNotification()
          .setText(helloText))
      .build();
}
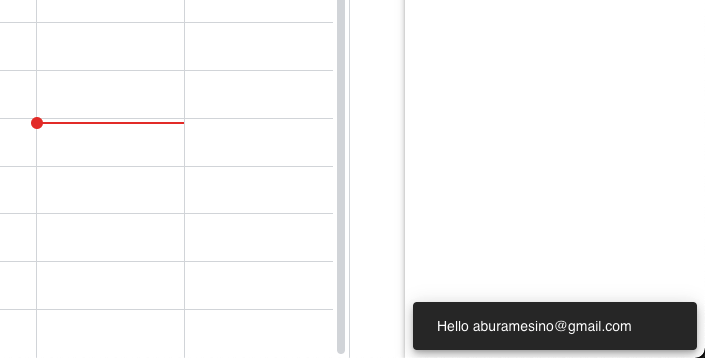
On notificationCallback function, we will read email input value, and then show a notification growl to current user.
You can see there's an e object passed in our action callback, we can see a-lot-of information from this event object. You can check the documentation to see all of them.
3. Deploy, run the extension in Google Calendar


That's all for basic form interaction using Google App Script.

Comments